Showing posts with label DIY. Show all posts

Monday, November 4, 2013

What are you thankful for?? DIY Thankful Jar

This is the time of year where we begin to really focus and think about the things that we are grateful for. Sometimes we don't even think about what we are thankful for until its actually thanksgiving day. I actually got the idea of this thankful jar about a year ago when I saw it on Pinterest. You are supposed to fill it up throughout the year with things that you a are thankful for and ten read them December 31st. Well, I had the best intentions to start this jar but it never happens until recently when I though about it again. I told my hubby "lets go ahead an start this jar ebb thought the year is almost over. So we sat down and began to think about all of the wonderful things that have happened this year, wrote them down and then placed them in the jar.  Out faces lit up as our nostalgia took us to found memories throughout the year. There was one memory that I wrote down that started out found but ended in tragedy and that was the miscarriage that I had not to long ago. When kent and I found out that we were pregnant we were scared and ecstatic all at the same time! When the miscarriage happened it was devastating.  We both cried a lot, but as I was reminiscing I began to be thankful for the fact that I was able to get pregnant and the hope that when the time is right, it would happen again. Thankfulness really does make a difference in your state of being. When you focus on the good in your life it's hard to concentrate on the negative. So my fiends it's never too late to start a thankful jar. What are you thankful for today?


~ xo
Christia

Thursday, October 10, 2013

DIY Lip scrub!! A secret I had to tell!

DIY Lips scrub!! A secret I had to tell! This is an exciting beauty secret that I had to tell. So, I was in the mall the other day and I complimented this woman on her great lip color. It was this bold bright red that fit her skin tone perfectly.
  She informed me that she got the lipstick at Sephora. I can't remember the name of it, but the rest of the conversation was hard to forget. She said that she found the secret to long lasting lipstick and that was to apply a lip scrub. So I asked her what lip scrub did she used and when she told me that she DIY'ed it, I got even more excited. I almost jumped out of my skin! lol.....She said, "I use sugar cane, brown sugar, and vaseline!" II screamed "Genius!!!!!!! Really, that's it?!?!" So when I got home, I went into my cubbard. We only keep brown sugar in the house, so I dipped my finger in the vaseline and then dipped it in a bowl of brown sugar, scrubbed my lips for 30 seconds and then put my red lipstick on as I headed to Fashion Week as  well as another show afterward and I didn't have to reapply not one time! Plus, my lips felt so smooth!! This scrub will definitely be great for the winter months! I hope you try and let meknow what you think!! <3 Toodles
 
~Xo


Wednesday, September 18, 2013

DIY ways to feel refreshed!


2 DIY ways to feel refreshed with lemons! Lemons are such a great healing source.  They help with hydration, digestion, weight loss and even help get rid of acne! Here are two great ways to get refreshed DIY style with lemons!


RECIPE:

4 lemons
Water
3Sprigs of Mint
(use your favorite sweetener)

Mix together with Ice and enjoy!


DIY FACIAL SCRUB

DIY FACIAL SCRUB
With Just 3 ingredients that  you already have at home, you can scrub away the cares of the world and leave your skin feeling luxurious and fabulous.  Just mix some extra virgin olive oil with a lemon and brown sugar and there you go! An all natural body scrub.  This one is definitely one of my favorites!


Tuesday, July 9, 2013

This DIY facial scrub is AMAZZZZZIN'!!!!

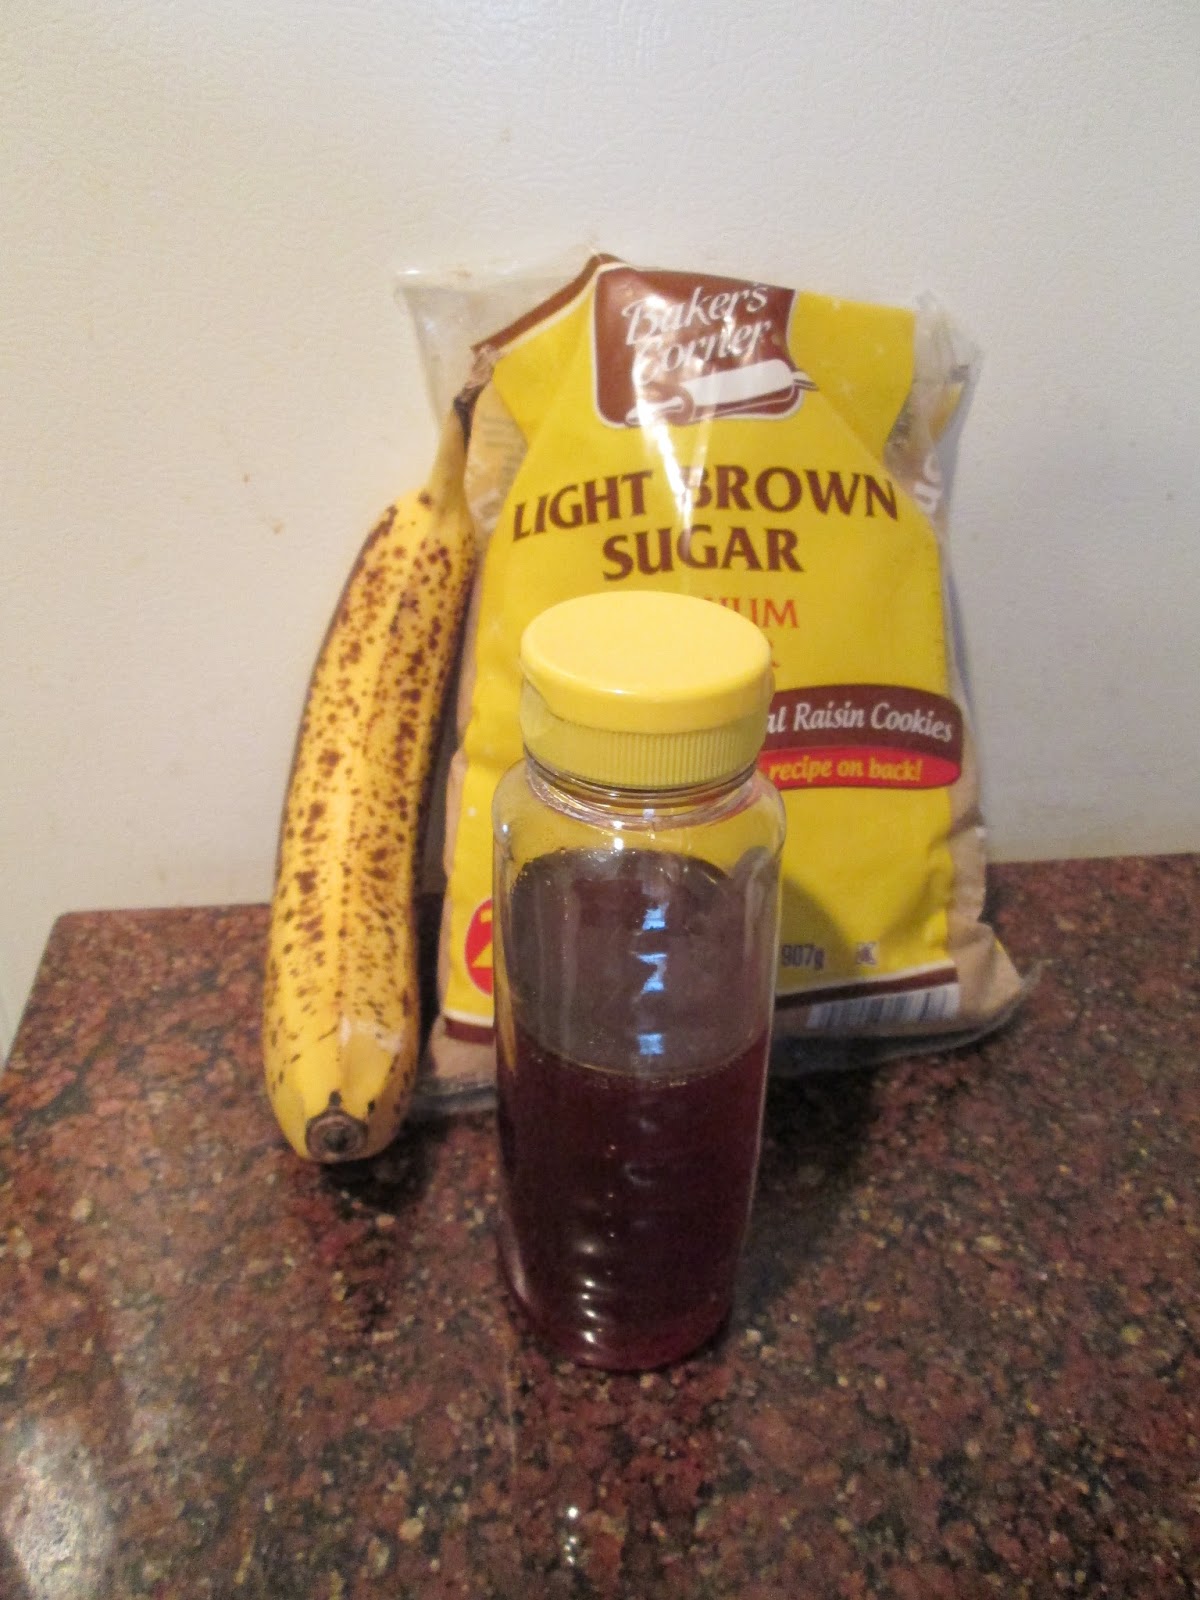
So, I get a lot of questions about how I keep my skin smooth and part of it is the Lord and my parents had really good complexions, but as I get older I really have to start taking care of my skin, so I will love it when it starts to wrinkle lol.  I came across this three ingredient scrub that's simply amazing.  It's all natural and works on pretty much any  part of your body.  It will leave you feeling as smooth as a baby's bottom.  I even use it on my feet!  All you need are three ingredients to create this yummy scrub.  Mix 1 banana, honey and brown sugar in a bowl and use your fingers to gently scrub on face.  Let it sit for a few minutes....or until your favorite TV show is over and wash off.   You will love how your skin feels!!   Since one batch makes a lot. You can have a girls pamper party and share it or you can do what I do and put it in a mason jar and stick it in the fridge. It will keep for 1 week. So I want to hear from you! What are your beauty regimens? Do you have a scrub that you can share with me?? Let me know how you like this scrub!

~XO 


Friday, May 17, 2013

Trend alert: Head Wraps

Head wraps are such a great accessory and the boho in me can't wait to rock them all summer!! I love how printed scarves are becoming more and more funky and beautiful!!! I had to snap this shot before datenite. My scarf is from forever 21 and super easy to tie! What do you think?!

Saturday, March 16, 2013

I can see your halo, halo, halo.... a DIY story

So I've been seeing the flower halo trend and I'm so in love, but instead of paying $20-30 dollars for one, I thought I'd DIY it and I really like the way it turned out! It's literally the easiest thing ever!

Tools:
1. Flower Garland (from hobby lobby) they have a really beautiful assortment and they were all 50% off this weekend. Choose the one that suits your style the best. They come in about 1yard of length so you will have some left over. I decided to make 2 for my god-daughters <3 br=""> 2. Scissors or jewelry pliers
3. Floral tape or a twist tie that comes from a loaf of bread;)... I didn't have floral tape so that's what I used and it worked great!!


Easy as 1 2 3
1. Measure garland to the length around your head that you want and add an extra inch.
2. Cut garland
3. Put the two ends together and wraps with either floral tape or a twisty tie:).... And you're done!!!


Monday, April 16, 2012

Convert your midi into a high low skirt! My STLTV look

Hey guys! this was my look for my STL TV LIVE show today. (check out my show on Mondays streaming live @5 CST on www.stltv.net!)

The skirt that I am wearing is actually a Midi skirt. Which means that it hits right at my ankle, but I didn't like the way it was fitting so I converted it into a High/low skirt with no cutting or sewing or hemming.  All I did was a little tucking.


This is how the skirt looks berfore i tucked it


Take the front part of the skirt and pull it under until you reach right under the waist band.


Safety pin the part you tucked so that it wont slip!


Super Easy and you get 2 looks in one skirt!!! WERK!!


Monday, April 9, 2012

DIY: Spring/Summer clutch!

So it's getting warmer outside and that means LESS CLOTHES whoohoo, but to me that also means smaller accessories. In the spring and summer I don't really like lugging around big purses. I like to feel as light as possible. However I only had two clutches and they were black. A few months ago I found a really cool basket weave clutch from Target and that clutch inspired me to tinker around with making my own clutch and that's when I found out HOW EASY it was I mean seriously EASY!.

The clutches that I made literally took less than 5minutes, except for the multicolored tribal print clutch, that one was a bit more intricate but still easy.

All clutches except for the tribal print clutch where made of of place mats that I got from the thrift store for a $1.00!! Yes you read right! Place mats are the perfect size and the stiffer ones have the perfect sturdiness for this project. The tribal one is made from fabric, which i lined with a place mate. This print will actually be in my new Moda Christia Collection coming this fall!


There are a few easy steps while making your purse but first lets start with the materials that you will need.
You will need:
  • Fabric or Place Mat
  • Glue -Gun (I prefer the glue gun) or Fabric Glue
  • decorative buttons 
  • razor (to attach buttons)
  • velcro

This is a Place Mat

Fold the place mat over a little more than half to create a nice sized pouch.


Super glue the sides down.

add Velcro as a fastener.


Add decorative buttons, flowers, etc to the front of the clutch or keep it plain!


DONE!
Now you have a one of a kind clutch that you can rock all spring and summer! NJOY!;)

For a dressier clutch try a flower... My mom made this one, after I taught her!;) XO


    Rocking my clutch this weekend!


    Rockin' my clutch Easter Sunday